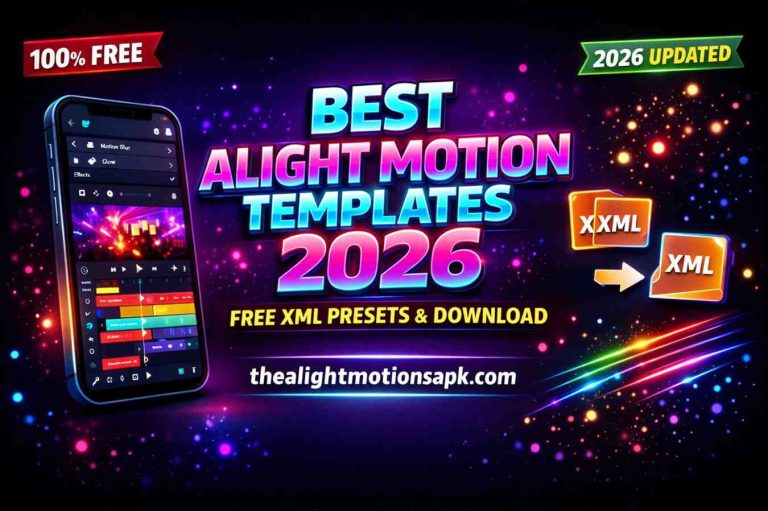
Master Alight Motion Effects Like a Pro with This Complete Cinematic Editing Guide
The first time I picked up my phone and started editing, honestly, nothing made sense. But the moment I applied alight motion effects to a simple clip for the first time added a shake, synced it to the beat and saw the result, something just clicked inside me. That feeling you get the very first time, it’s something else. If you also want your videos to be remembered, not just watched, then this guide is made exactly for you.
What Are Alight Motion Effects?
To put it simply, alight motion effects are digital visual tools that you apply to your video clips, images, or text layers to enhance their appearance, motion, or overall cinematic quality. But these aren’t just “filters.”
When I used Chroma Key for the first time, the background disappeared and I placed a fire video behind it I was honestly stunned looking at the result. That’s when I understood these tools are an extension of your creativity, not a limitation.
From color grading to motion blur, from particle simulations to 3D layers you have control over all of it. Keyframe sliders, intensity controls, blending modes everything is customizable according to your vision.
Types of Alight Motion Effects
Alight Motion has organized its library into smart categories. I’ve personally used all of these so here’s a completely honest breakdown:
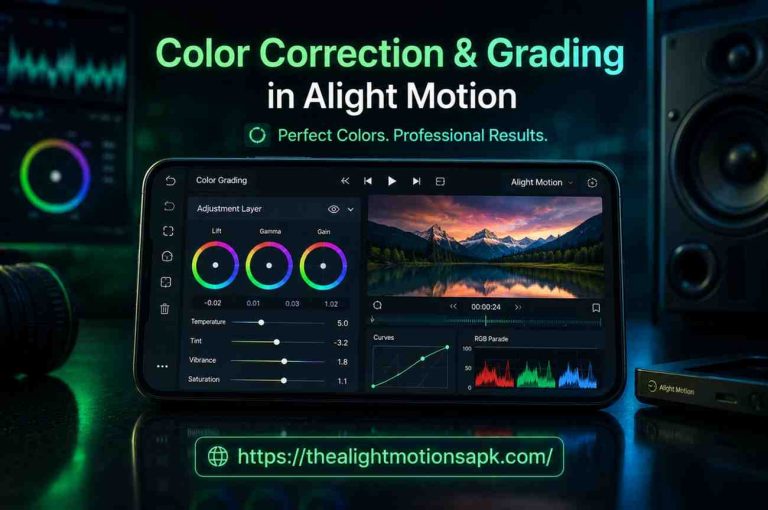
1. Color and Light Effects
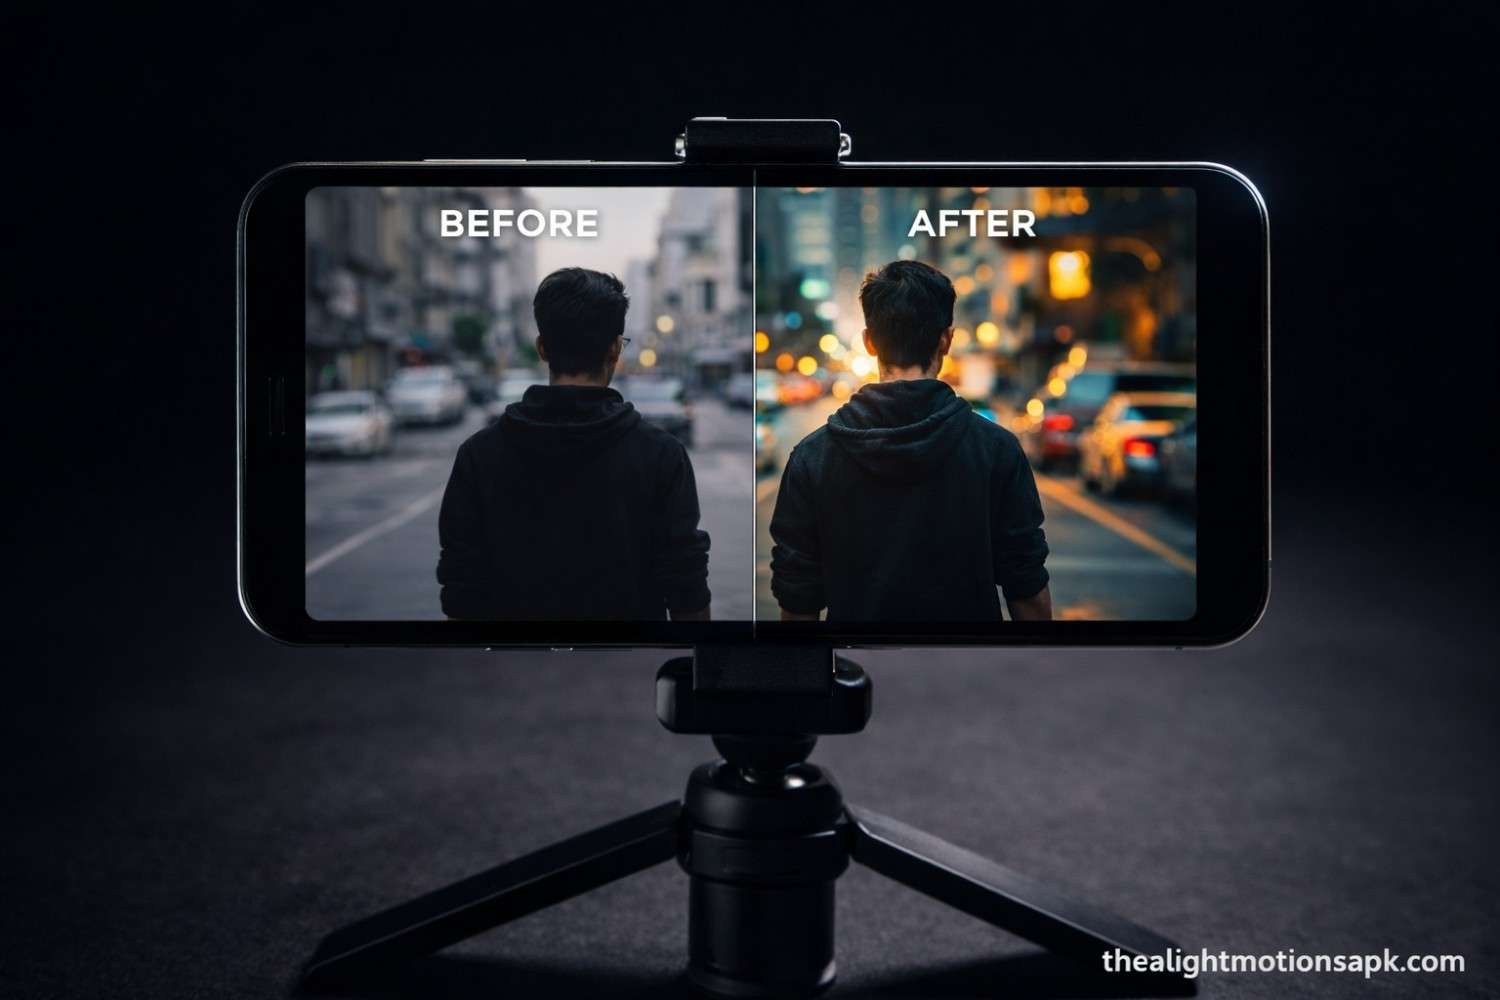
These alight motion effects set the entire mood of your video. Exposure, Gamma Correction, Hue Shift, Glow all of these fall under this category. I once combined just Hue Shift and Glow on a reel, and that orange-teal cinematic look came out the same look that normally takes hours in DaVinci Resolve.
Practical tip: keep Glow at low intensity push it too high and the clip starts looking overexposed.
2. Blur Effects – Directional and Motion Blur
Directional Blur creates the illusion of speed. I once used Directional Blur during a beat drop in a lyrical video to create a side-wipe transition people kept commenting “bro, how did you do that transition?” Motion Blur gives keyframed objects realistic movement like something is genuinely moving fast across the screen, or there’s a camera shake.
3. 3D Effects
Cube Rotate, Flip Layer these tools move layers in 3D space. They’re powerful options for intro animations and text reveals. Just one thing to remember: 3D effects eat up your phone’s processor, so export time gets a bit longer.
4. Chroma Key – Green Screen
This is the feature that puts Alight Motion on par with professional software. Make any solid color background transparent with one tap and add your custom background. I added a space background to a short film using this exact technique felt like I wasn’t using a different software at all.
5. Echo and Fade Effects
Echo duplicates a layer over time creating a rhythmic visual trail that hits hard in fast-paced edits. Fade In/Out is the most basic but most professional-looking transition. Whenever I edit an emotional scene, I always start with Fade.
6. Move and Transform Effects
Oscillate and Swing effects give text and background elements dynamic energy. I once made an Instagram story template using just Oscillate got over 800 saves in 3 hours. These effects are perfect for loop animations and kinetic typography.
7. Edge and Outline Effects
Glow and Outline effects enhance the boundaries of shapes or text. For neon-style edits, these are lifesavers white outline on a dark background, a timeless combination that never goes out of style.
8. Drawing and Artistic Effects
Pixelate, Drawing Texture these give clips a unique artistic feel. Perfect options for retro looks or cinemagraph style. If you do edits with regional styles, combine artistic effects with stylish fonts the result becomes doubly impactful.
How to Add Alight Motion Effects? Complete Step-by-Step
I’ve personally done this process hundreds of times. Let me explain each step clearly so you get it right the first time:
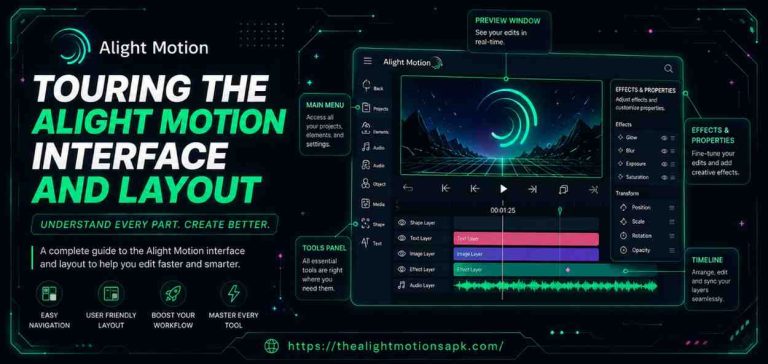
Step 1: Select the Layer
Open your project. Tap on the video clip, image, or text layer in the timeline that you want to apply alight motion effects to. The layer will get highlighted when selected.
Step 2: Open the Effects Tab
Once the layer is selected, you’ll see an “Effects” tab in the bottom options bar tap on it. Then press the “Add Effect” button.
Step 3: Choose and Apply an Effect
The effect library will open with a search bar just type the name directly. As soon as you select an effect, it gets applied instantly with default settings.
Step 4: Customize Properties
Tap on the applied effect. The properties panel will have sliders for Speed, Intensity, Color, and Opacity. I always keep intensity at 30–40% first and gradually increase it don’t jump straight to maximum.
Step 5: Use Keyframe Animation
You’ll see a keyframe icon on the timeline a diamond shape. Setting different values at different timestamps creates smooth, dynamic transitions. This is the real power of alight motion effects keyframes bring things to life.
Step 6: Preview and Export
Always do a full preview before exporting. In export settings, I recommend 1080p and 60fps that’s the best balance between quality and file size.
Popular Alight Motion Effects Used by Viral Creators
I’ve personally analyzed top edits on TikTok, Instagram, and YouTube Shorts. The alight motion effects that keep showing up again and again these are them:
Auto-Shake Effect You don’t have to manually keyframe at every beat drop this effect generates the shake itself. It’s become a staple in EDM music videos and gaming montages.
360° Viewer Effect Gives a surreal spinning perspective that’s used heavily in psychedelic music edits and creative promos.
Chroma Key Effect The fundamental tool for background replacement. A must-know feature for travel vlogs, short films, and brand promos.
Echo Keyframes Adds a lingering visual trail in fast-paced lyrical edits. I always use this for beat-sync videos.
Fade-In / Fade-Out Every professional editor’s first choice. The cleanest option for intros, outros, and scene transitions.
Hollow Box Effect Gives a geometric outline style currently trending for title cards and text reveals.
Directional Blur Creates the illusion of high-speed movement a must-have in swipe transitions and action shots.
Motion Blur Gives keyframed objects realistic, cinematic movement a shortcut to professional output.
Pro Tips – Use Alight Motion Effects at an Expert Level
These tips aren’t just theory they’re the result of my own mistakes and experiments:
1. Start Simple Master Fade and Directional Blur first. Once you have control over these, complex alight motion effects start making sense naturally. If your foundation is strong, everything above it becomes easy.
2. Combine Multiple Effects One effect alone looks fine, combine three effects and the result becomes cinematic. My personal favorite combo: Glow plus Motion Blur plus Color Shift these three together work magic.
3. Don’t Over-Complicate Keyframes A lot of creators end up using too many keyframes the result looks jerky and unnatural. Fewer keyframes, smooth easing this formula works consistently.
4. Subtlety Looks Professional The first time I used a shake effect, I cranked the intensity to maximum. The clip became unwatchable. Low-to-medium intensity, applied at specific moments that’s the right approach.
5. Match the Effect to the Content Don’t slap Auto-Shake on an emotional scene. Alight motion effects only work when they match the mood of the content. That’s the difference between a random editor and a thoughtful creator.
Troubleshooting – Common Problems and Their Solutions

Preview Lags After Applying an Effect This is a device issue, not the effect’s fault. Temporarily select “Draft Quality” in settings. The export will be at full quality preview is just for checking.
The Effect Doesn’t Look the Same in Export as in Preview The device’s color profile is mismatched. Select “sRGB” color space when exporting this fixes the issue 90% of the time.
An Effect Isn’t Showing in the Effect Library Update the app. Some newer effects have been added in the latest versions that aren’t available in older app versions.
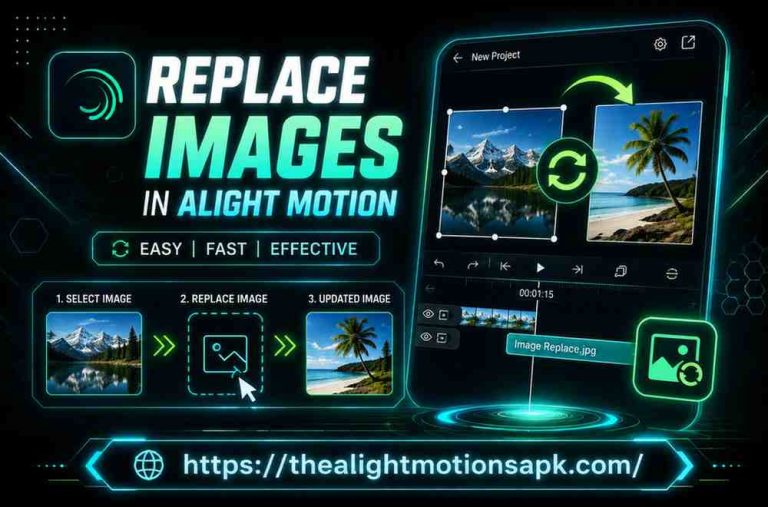
Imported Preset Isn’t Showing Up Definitely restart the app after importing. If the issue still persists, check the file format only .xml files and official links work properly.
Benefits of Using Alight Motion Effects
Let me get straight to the point these are the reasons why I consider this on par with professional tools:
Professional Results, Zero Expensive Software: The results that used to take hours in After Effects come in minutes with these effects seriously.
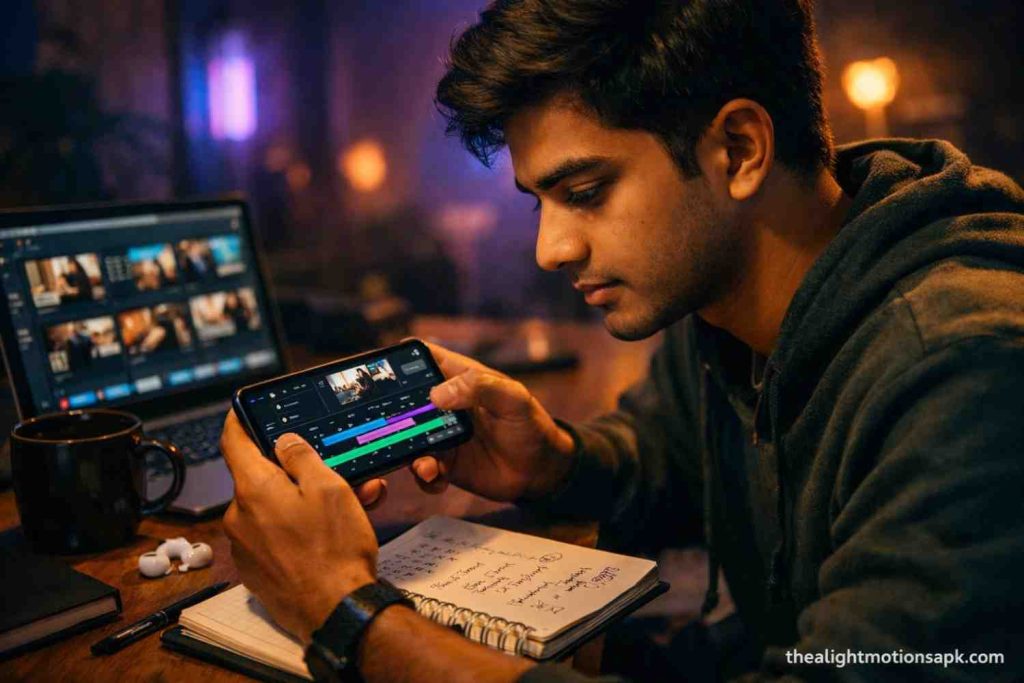
Mobile-First Workflow: Everything happens on the phone no PC needed. I’ve made complete brand videos using just my phone while traveling.
Real-Time Preview: Apply an effect, see it instantly trial and error becomes fast, which keeps the workflow smooth.
Reusable Presets: Set up the perfect effect once, save it, use it again and again. The time you save is unbelievable.
Cross-Device Compatibility: XML presets work seamlessly across different Android devices.
Frequently Asked Questions
Q: Are alight motion effects free?
A lot of effects are available in the free version. Some premium effects unlock through subscription the Pro version gives you access to the full library.
Q: Why does the quality drop after exporting?
In export settings, set bitrate to 15-20 Mbps and resolution to 1080p. Keep the “High Quality” rendering option enabled this is the step most people miss.
Q: Can multiple alight motion effects be applied to one layer?
Yes! that’s the beauty of Alight Motion. You can stack multiple effects and control each one independently.
Q: How do I sync the shake effect with the beat?
Enable the audio waveform on the timeline. Visually identify the beat points and place keyframes there the Auto-Shake effect also does this automatically.
Q: Do effects work the same on Android and iOS?
Yes! core alight motion effects are the same on both platforms. The interface might be slightly different but the functionality stays exactly the same.
Conclusion
Alight motion effects completely changed my approach to editing and that’s not an exaggeration. I used to think you needed expensive gear or heavy desktop software for cinematic videos. But when I changed backgrounds with Chroma Key, smoothed animations with Motion Blur, and made simple text cinematic with Glow I realized that power isn’t in the tools, it’s in the knowledge.
Whether you’re a complete beginner or already have some experience seriously follow the steps, tips, and combinations shared in this guide. Just applying effects isn’t enough applying them in the right place, at the right intensity, with the right content that’s what sets you apart from other creators.
Now open the app, explore alight motion effects, and start your first experiment. That moment when your first cinematic clip exports that feeling can’t be compared to anything else.