
Camera Objects in Alight Motion – Complete Guide to Cinematic Camera Movement & 3D Effects (2026)
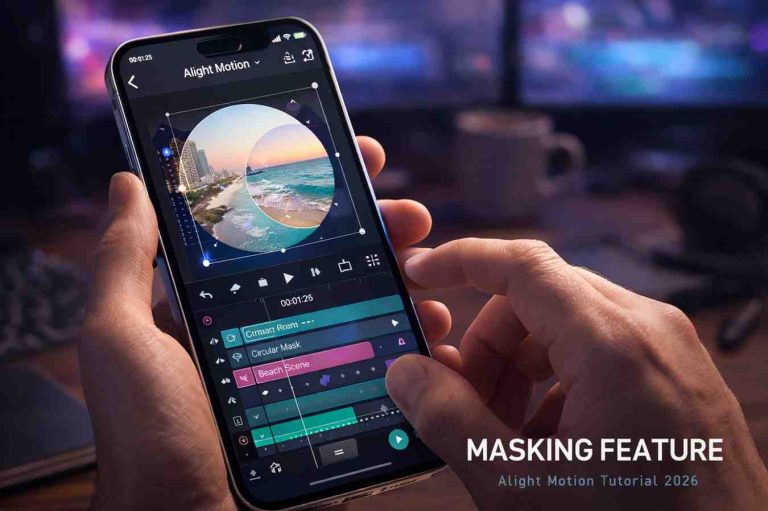
The first time I noticed how powerful camera objects in Alight Motion really are, I was watching a viral travel reel a friend had made. The shot started zoomed in on a coffee cup, then smoothly pulled back to reveal a Bali beach, with palm trees moving past the foreground like a real cinema dolly shot. I asked him what camera he used. He laughed and said it was all done on his phone, using a single camera object. That moment changed how I thought about mobile video editing forever.
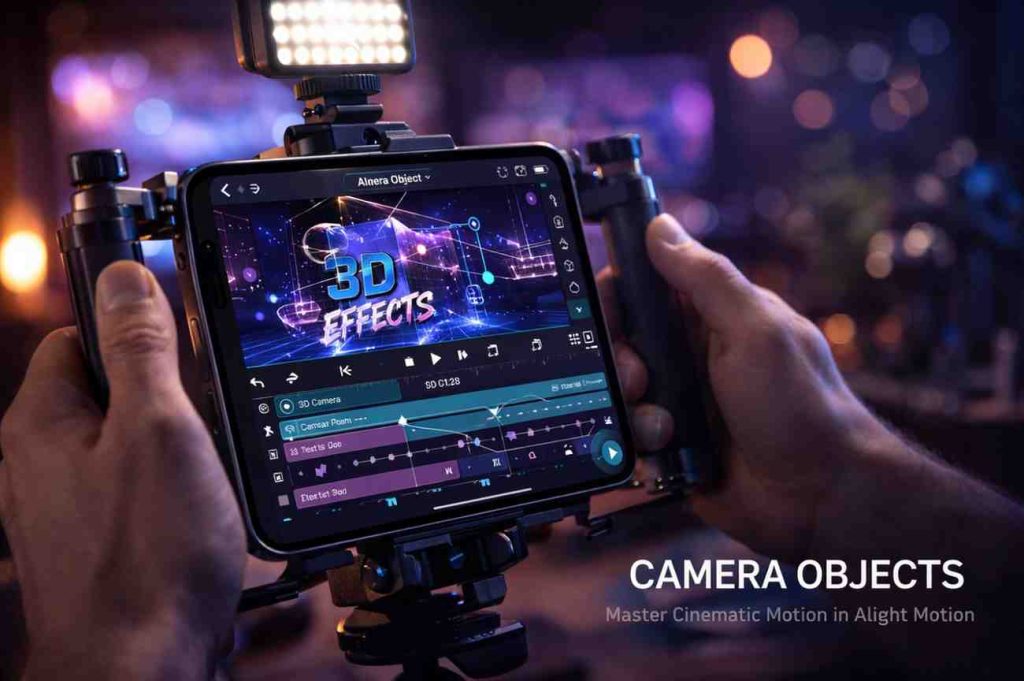
Most beginners never touch camera objects because the feature feels intimidating. I get it. The first time I opened that panel, the X, Y, Z coordinates, depth values, and parenting options looked like a math exam. But once you understand the logic, camera objects become the single most powerful tool inside the app for creating cinematic motion, depth, and that polished feel everyone is chasing on Reels, Shorts, and TikTok.
This guide is built from three years of using Alight Motion daily for client work, AMV edits, and YouTube projects. I will walk you through what camera objects are, how to add them, every important setting, and the creative techniques that took my own edits from flat to cinematic. Whether you are a complete beginner, a social media editor, or a seasoned video editor moving to mobile, you will find practical value here.
What Are Camera Objects in Alight Motion?
Before opening the app, let me explain what camera objects actually are and why they matter so much for cinematic editing.
Understanding Virtual Camera Movement
A camera object is a virtual camera placed inside your project. Instead of physically moving your phone, you tell this virtual camera where to look, how to zoom, and how to move through your scene. The result is professional camera motion without owning a single piece of physical gear.
How Camera Objects Work in Alight Motion
When you add a camera object, your layers gain a third dimension. The Z-axis becomes active, meaning layers can sit closer or farther from the camera. As the camera moves through this space, near layers shift faster than distant ones, creating that natural depth your eyes recognize from real-world footage.
Difference Between Normal Layers and Camera Objects
Normal layers exist on a flat plane. You can move them around, but the scene stays two-dimensional. Camera objects unlock true depth-based motion. A simple scale animation on a normal layer feels like a zoom. The same scale change with a camera object feels like the camera physically dollying toward the subject.
Why Camera Objects Are Important for Cinematic Editing?
Every cinematic edit on social media, the kind that makes you stop scrolling, uses some form of camera movement. Without camera objects, you would have to fake everything manually, layer by layer, keyframe by keyframe. With them, you build a real virtual set and direct the camera the way a film director would.
Main Features of Camera Objects in Alight Motion
Camera objects are not just a single tool. They are a collection of features that work together. Here is what each one does in plain language.
Creating Depth in Videos
By placing layers at different Z-axis distances, you build scenes with real depth. A foreground subject sits close to the camera, a midground object floats behind it, and a background layer drops further back. The result is footage that feels three-dimensional rather than flat.
Adding Focus Blur Effects
Focus blur simulates the depth-of-field you get on a real camera lens. Objects at the focal distance stay sharp, while elements closer or farther become softly blurred. This single feature can make a phone clip look like it was shot on a high-end camera.
Using Fog and Atmospheric Effects
The fog setting adds a layer of atmospheric haze that increases with distance. It is perfect for landscape scenes, mysterious openings, or anything where you want to add cinematic mood. Used subtly, fog is what separates a good scene from a memorable one.
Applying Smooth Keyframe Animations
Camera objects work with the keyframe system, so every property, position, zoom, rotation, focus, and fog, can animate over time. This is the foundation of every cinematic move you have ever seen in a movie trailer.
Creating Parallax Motion with Parenting
Parenting links layers to the camera object so they respond to its movement. As the camera moves, parented layers shift naturally based on their depth, producing that classic parallax effect where backgrounds move slower than foregrounds.
Simulating Real Camera Movement
Pans, dollies, tilts, orbits, and tracking shots can all be recreated using camera objects. With enough practice, you can simulate the movement style of any director, from Wes Anderson’s perfectly centered dolly shots to the dynamic handheld feel of action films.
How to Add a Camera Object in Alight Motion?(Step-by-Step)
This is the exact process I follow on every cinematic project. Open the app and follow along on your phone.
Step 1: Create a New Project
Tap the plus icon and start a new project. Pick 9:16 for Reels and Shorts, or 16:9 for YouTube. Set the frame rate to 60 fps because camera motion looks visibly smoother at higher frame rates.
Step 2: Add Media and Layers
Import your photos, video clips, or PNG cutouts. For best results, use at least three layers with clear foreground, midground, and background separation. This is what makes parallax actually look like parallax.
Step 3: Enable Active Camera Mode
Tap the project settings icon and turn on Active Camera Mode. This switches Am Mod APK‘s view from the default flat preview to a camera-driven 3D-style preview. You will immediately see your layers gain depth potential.
Step 4: Insert a Camera Object
Add a new camera object from the layer menu. It appears in your timeline like any other layer, but with its own set of properties including position, rotation, zoom, focus, and fog.
Step 5: Adjust Camera Position and Angle
Use the X, Y, and Z controls to position the camera in your scene. The X and Y axes handle horizontal and vertical placement, while Z controls how close or far the camera sits from your layers. Start with subtle values, big numbers tend to break the scene.
Step 6: Apply Zoom and Depth Effects
Adjust the zoom property to control how much of the scene your camera captures. Lower zoom values feel wide-angle and cinematic. Higher values create tight, intimate framing. Pair zoom changes with focus blur for that signature professional look.
Step 7: Animate Camera Movement Using Keyframes
Tap the keyframe icon at the start of your timeline. Move the playhead forward, then change the camera’s position, zoom, or rotation. Alight Motion animates the change automatically. Apply easing curves to keep motion smooth and natural.
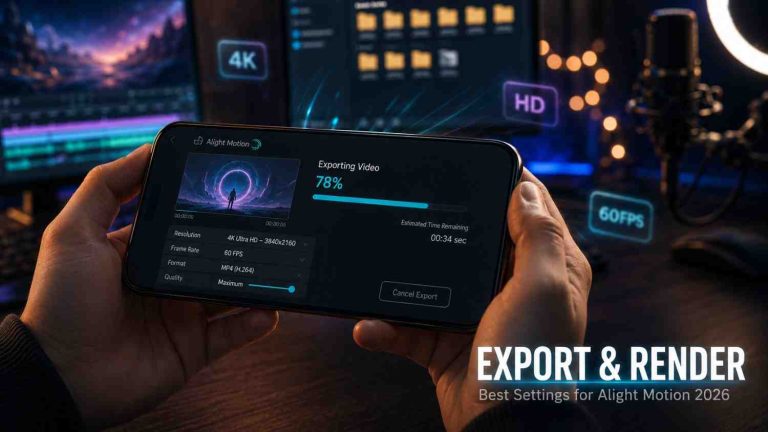
Step 8: Preview and Export the Final Video
Play through your timeline and check for jerky movements or awkward camera angles. Refine timing if needed. When you are happy, export at 1080p or higher with bitrate above 20 Mbps for crisp final results.
Understanding Camera Controls and Features
These are the controls that turn a basic camera into a cinematic tool. Get familiar with each one.
Move, Rotate, and Zoom Controls
Position controls move the camera through space. Rotation controls let it pivot on any axis. Zoom changes the field of view. Together, these three properties handle 90 percent of camera motion in real filmmaking.
Z-Axis and Depth Positioning
The Z-axis is the secret behind every cinematic shot in Alight Motion. Positive Z values push layers further away. Negative values pull them closer. Spread your layers along the Z-axis to build genuine three-dimensional scenes.
Camera Distance and View Angle
Camera distance controls how far the virtual camera sits from your scene. View angle works like a lens. Wide angles capture more of the scene with slight distortion. Narrow angles compress space and create that telephoto cinema look.
Scale and Perspective Controls
Scale adjusts how big your layers appear relative to the camera. Combined with perspective settings, scale becomes a powerful tool for creating impossible camera moves, like dolly zooms or extreme depth compression.
Focus Blur Settings
Focus blur has two key controls, the focal distance and the blur intensity. Set the focal distance to match your subject’s Z position, then increase blur intensity to soften everything else. This is how you get that creamy cinematic background blur on a phone.
Camera Speed and Motion Timing
How fast the camera moves changes the entire feel of your edit. Slow moves feel cinematic and emotional. Fast moves feel energetic and modern. Match the pace to your music or narration for the strongest emotional response.
How to Use Active Camera Mode in Alight Motion?
Active Camera Mode is what brings your virtual camera to life. Without it, the camera object exists but does nothing visible.
What Active Camera Mode Does?
Active Camera Mode tells Alight Motion to render your project through the perspective of your camera object. Everything you see in preview is now seen from the camera’s point of view, including depth, focus, and motion.
Switching Between Default and Active Camera
Inside the project settings, toggle between Default Camera and Active Camera. Default shows a flat 2D preview, useful for basic editing. Active Camera enables your cinematic 3D-style view. Switch back to default when you need to position layers precisely without camera distortion.
Adjusting Camera Movement Smoothly
Always add easing to camera keyframes. Inside the keyframe editor, pull the curve handles into an S-shape. Cameras in real movies never start or stop abruptly, so neither should yours. Smooth acceleration is what makes camera motion feel professional.
Best Situations to Use Active Camera
Reach for Active Camera Mode when you want depth, when you have multiple layers at different distances, or when you want true cinematic motion. For simple text overlays or single-layer edits, stick with default camera to keep the project light and fast.
Using Multiple Camera Objects in One Project
Just like real film sets, you can use multiple cameras in a single project. This unlocks dynamic scene transitions and complex visual storytelling.
Switching Between Different Cameras
Add a second camera object and set it to active at a specific point in your timeline. Alight Motion smoothly transitions between cameras, like cutting between angles in a movie. This is incredibly powerful for narrative-style edits.
Creating Cinematic Scene Transitions
Use one camera for a wide establishing shot and another for a tight close-up. Cut between them at the perfect moment, and you get a Hollywood-style transition that pulls viewers into your story.
Organizing Camera Angles for Better Workflow
Name your camera objects clearly, something like Wide Angle, Close Up, or Top Down. When you have five or six camera objects in a project, naming saves hours of confusion later.
Multi-Camera Editing Tips
Plan your camera angles before you start editing, even if you sketch them on paper. Improvising with multiple cameras almost always creates chaos. A small plan keeps your edit focused and intentional.
Parenting and Parallax Effects in Alight Motion
Parenting is what links your layers to the camera object. Without parenting, your camera moves but your scene stays flat. Master parenting and the whole 3D illusion comes alive.
Understanding Layer Parenting
Parenting tells Alight Motion that a layer should follow another layer’s movement. When you parent a layer to a camera object, the layer reacts to camera motion based on its position in 3D space.
Creating Realistic Parallax Motion
Place your background far on the Z-axis and your foreground close. Parent both to the camera. Move the camera horizontally, and watch as your foreground sweeps past quickly while your background drifts slowly. That is parallax in action.
Connecting Layers to Camera Objects
Select your layer, open the parenting option, and choose your camera object as the parent. Repeat for every layer that should respond to camera motion. Layers you do not parent will stay static, useful for overlays like text or watermarks.
Building 3D-Style Depth Effects
Combine parenting with focus blur and fog for fully immersive 3D-style scenes. A foreground subject sharp in focus, midground softly blurred, and background fading into fog produces results that look like they came from a desktop motion graphics studio.
Smooth Foreground and Background Movement
Animate your camera over three to five seconds for the best parallax feel. Faster movements lose the depth illusion. Slower ones give viewers time to register the scene’s dimensionality.
Motion Blur in Alight Motion
Motion blur is what makes virtual camera movement feel physically real. Without it, even the most carefully animated camera looks robotic.
What Motion Blur Does
In real cameras, moving objects naturally smear across frames during exposure. Motion blur simulates this smearing on your animations, tricking your eyes into reading the motion as filmed footage rather than computer animation.
How to Add Motion Blur in Alight Motion?
Inside your camera object’s properties, find the motion blur toggle and enable it. Adjust the intensity slider until the blur feels natural for the speed of your movement. Fast moves need more blur, slow moves need almost none.
Motion Blur Settings and Properties
Key motion blur settings include intensity, sample count, and shutter angle. Higher sample counts produce smoother blur but slow down rendering. For mobile, stick with default sample counts unless you are working on hero shots.
Making Camera Movement Look Realistic
Apply motion blur only when the camera is actually moving. Static shots with motion blur look unnatural. Animate the blur intensity to match camera speed for maximum realism.
Avoiding Overused Blur Effects
Heavy motion blur on every shot makes your edit feel sluggish and confusing. Use it selectively on fast camera moves and complex transitions. Restraint reads as polish.
Adding Effects and Presets to Camera Objects
Camera objects work beautifully with Alight Motion Presets and Alight Motion’s effects system. Here is how I combine them for premium results.
Using Blur and Glow Effects
Apply a soft glow to bright objects in your scene to create that cinematic bloom. Combined with focus blur from the camera, plus Alight Motion Stylish Hindi Fonts in Alight Motion, you get that magical lighting look you see in movie posters.
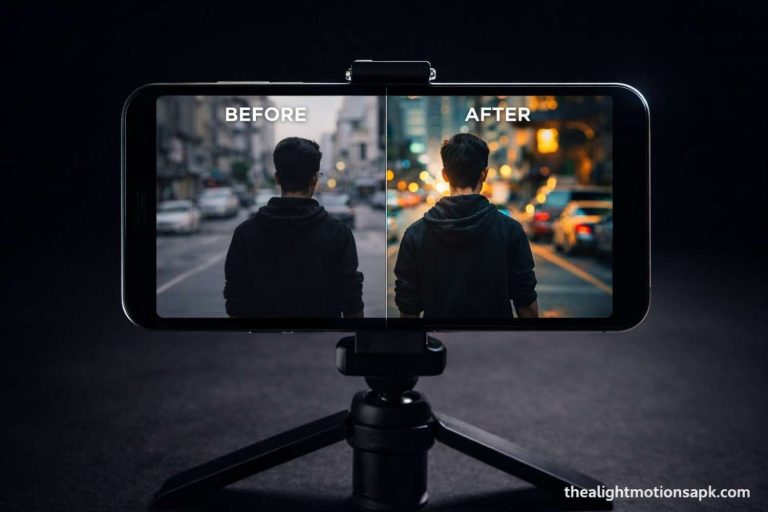
Applying Cinematic Color Grading
Add color correction effects on top of your camera-driven scene. Cool blue shadows with warm orange highlights produce the classic Hollywood look. Match your color palette to the mood of the shot.
Adding Shake and Dynamic Motion Effects
Subtle camera shake on the camera object makes static scenes feel alive. Use position keyframes with small random offsets to simulate handheld movement. Less is always more here.
Using Presets for Faster Editing
Save your favorite camera setups as presets so you can reuse them on future projects. This saves hours over time, especially when you find a camera move that consistently performs well on your channel.
Combining Camera Effects with Transitions
Pair camera zooms with cut points in your music for seamless transitions between clips. The camera move covers the cut, and the transition feels like a single continuous shot. This is the same trick used in countless viral edits.
Advanced Camera Techniques in Alight Motion
Once you are comfortable with the basics, these advanced techniques will push your edits into truly professional territory.
Cinematic Zoom-In and Zoom-Out Effects
Animate the camera’s Z position over four to six seconds for a slow cinematic zoom. Add subtle focus blur changes during the move for a hypnotic effect that holds viewer attention through the entire shot.
Fake 3D Camera Rotation
Rotate your camera on the Y-axis while keeping layers parented properly. The result is a 3D orbit around your scene, even though everything is technically 2D. This trick alone can elevate any flat composition into something dimensional.
Creating Smooth Tracking Shots
Animate the camera’s position to follow a moving subject. Keyframe both the X and Y axes to match the subject’s path. With practice, your tracking shots will feel as smooth as gimbal-stabilized footage.
Building Depth with Layer Separation
Space your layers carefully along the Z-axis. Too close together and the parallax effect disappears. Too far apart and the scene breaks. I usually use Z values of 0, 200, 500, and 1000 for foreground, midground, distant, and far layers.
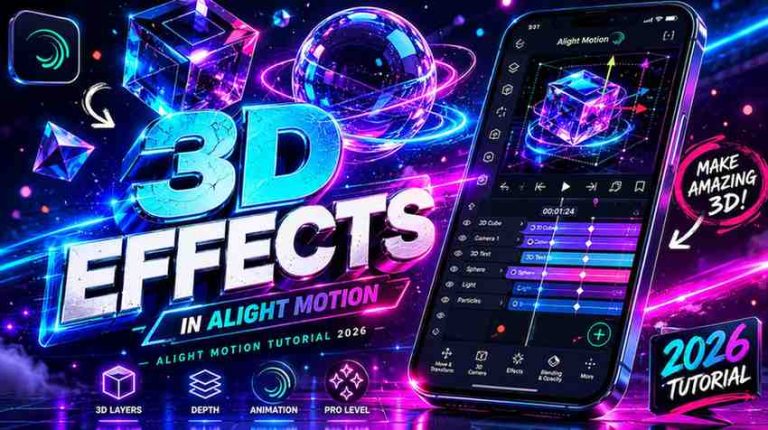
Combining Camera Objects with 3D Effects
Layer 3D-style text, parallax photos, and camera movement together for fully immersive scenes. The combination is what creates those reels that feel like miniature movies rather than phone edits.
Using Fog for Atmospheric Scenes
Enable fog on your camera object for moody, cinematic shots. Adjust fog density to match your scene. Heavy fog suits mysterious openings, while light fog adds subtle atmospheric depth to any landscape.
Best Uses of Camera Objects in Video Editing
If you are wondering what kinds of projects benefit most from camera objects, here are the use cases that consistently perform well.
Social Media Reels and Shorts
Camera-driven hooks in the first second of a Reel dramatically increase watch time. I tested this on my own account, and reels with camera-object openings outperformed flat ones by nearly twenty percent in retention.
AMV and Gaming Edits
The AMV community uses camera objects heavily for beat-synced zooms and dramatic angle changes. Gaming edits benefit equally, especially for highlight reels and intro animations.
Cinematic Intro Videos
Brand intros built around camera movement feel expensive and intentional. A slow zoom into a logo with parallax background elements creates the kind of opening that builds instant credibility.
Product Showcase Animations
Rotate the virtual camera around a product image to simulate a 360-degree view. Small businesses pay well for this style of product reveal, which is one of the easiest freelance niches to enter.
Storytelling and Travel Videos
Camera objects shine in travel content, where parallax shots and slow cinematic zooms can transform static photos into immersive sequences. Many viral travel reels use exactly this technique.
Common Mistakes to Avoid While Using Camera Objects
I made every one of these mistakes during my first year of working with camera objects. Save yourself the trouble.
Excessive Zoom and Rotation
Camera movement should support your story, not distract from it. Constant zooming and rotating exhaust viewers within seconds. Pick one or two cinematic moves per scene and let them breathe.
Unbalanced Layer Depth
If all your layers sit at similar Z positions, parallax disappears. Spread your layers intentionally across the Z-axis to maintain genuine depth in every shot.
Overusing Motion Blur
Heavy motion blur on slow moves looks muddy. Reserve high blur values for fast camera animations and transitions. For slow cinematic moves, use minimal blur or none at all.
Jerky Camera Animation
Linear keyframes produce robotic motion. Always apply easing to camera keyframes so the camera accelerates and decelerates the way a real one would. Smoothness is non-negotiable.
Poor Keyframe Placement
Cramming too many keyframes into a short timeline creates erratic motion. Use the fewest keyframes needed to achieve your animation. Less is genuinely more here.
Ignoring Perspective Consistency
If your camera tilts and rotates, every layer must respond consistently. Forgotten parented layers create scenes where the world rotates around a static object, instantly breaking the illusion.
Tips for Better Camera Movement in Alight Motion
These are the habits that took my own camera work from clumsy to consistently cinematic.
Keep Camera Motion Smooth and Natural
Reference how real cameras move. Operators rarely make sudden direction changes or abrupt stops. Mimic that natural fluidity in every animation.
Use Easing for Realistic Animation
Ease-in-out is your default friend for camera keyframes. Pull the velocity curve into an S-shape. This single habit fixes the most common amateur mistake in mobile editing.
Maintain Proper Layer Spacing
Plan your layer depth before adding the camera. Sketch the scene mentally, decide what should sit close and what should be distant, then position layers accordingly along the Z-axis.
Use Subtle Camera Shake Carefully
A tiny amount of camera shake adds life to static scenes. But uncontrolled shake feels like an earthquake hit your project. Keep shake amplitude small and frequencies low.
Preview Camera Angles Frequently
Test multiple angles before locking in your final composition. Move the camera high, low, off-center, and rotated. The first angle is rarely the best one.
Match Motion with Music Beats
Sync your camera moves to music beats. Even subtle cuts that land on a beat feel intentional and professional. Most viral edits time their camera motion to audio beats.
Troubleshooting Camera Object Issues
Even the best workflows hit problems. Here are the most common camera object issues and how I solve them.
Why Camera Objects Are Not Working?
If your camera object exists but nothing changes when you move it, check that Active Camera Mode is enabled in project settings. Without it, the camera does nothing visible. Also confirm your layers are parented correctly.
Fixing Lag During Camera Animation
Lag usually comes from too many high-resolution layers, excessive motion blur, or low device performance. Lower preview quality during editing, close background apps, and limit each scene to a manageable number of layers.
Solving Blur and Focus Problems
If focus blur is not working, verify your focal distance matches your subject’s Z position. Misaligned focal distance creates scenes where everything is blurred, including the subject you wanted sharp.
Fixing Export Quality Issues
Camera-heavy projects need higher bitrates to preserve smooth motion. Export at 20 Mbps minimum for 1080p. Lower bitrates produce visible compression artifacts on cinematic moves.
Preventing App Crashes in Heavy Projects
Limit projects to under fifteen active layers when working with camera objects. Keep at least 2 GB of free storage on your phone. Restart the app between heavy export sessions to clear memory.
Best Export Settings for Camera Object Projects
Camera-driven edits need premium export settings to look their best. Here is what I use as my standard.
Recommended Resolution and FPS
Export at 1080p minimum, 60 fps for smooth camera motion. 4K at 60 fps gives the cleanest results if your phone supports it. Higher frame rates always make virtual camera movement feel more lifelike.
Export Settings for TikTok and Instagram Reels
Use 1080×1920 resolution, 60 fps, MP4 format with H.264 codec, and bitrate of 20 Mbps or higher. These settings preserve the smoothness of camera animations across platform compression.
Best Bitrate for Smooth Motion
For 1080p, target 20 to 25 Mbps. For 4K, aim for 40 Mbps or higher. Camera motion combined with motion blur eats bitrate quickly, so do not cheap out on this setting.
Reducing File Size Without Losing Quality
If file size is a concern, drop frame rate to 30 fps before lowering bitrate. Frame rate cuts often look cleaner than aggressive compression on camera-heavy projects.
FAQ‘s
What are camera objects in Alight Motion?
Camera objects are virtual cameras inside the Alight Motion app that let you simulate real-world camera movement, depth, and cinematic effects. They control how your scene is viewed, including position, zoom, rotation, focus blur, and fog.
How do you enable Active Camera Mode?
Open your project settings, find the camera options, and toggle Active Camera Mode on. This switches your preview from the default flat view to a camera-driven view that responds to your camera object’s properties.
Can camera objects create 3D effects?
Yes, camera objects combined with proper layer parenting and Z-axis positioning create convincing 3D-style depth effects. Add focus blur, fog, and motion blur for fully immersive cinematic scenes.
What is the parallax effect in Alight Motion?
Parallax is the illusion of depth created when foreground layers move faster than background layers relative to camera motion. Camera objects combined with parented layers at different Z-axis depths produce this effect automatically.
How do you add motion blur to camera movement?
Open your camera object’s properties, enable the motion blur toggle, and adjust the intensity slider. Use higher values for fast camera moves and lower values for slow cinematic motion.
Why is my camera animation lagging?
Lag usually comes from too many high-resolution layers, excessive motion blur sample counts, or limited device RAM. Lower preview quality, close background apps, and reduce the number of active layers in your project.
Can beginners use camera objects easily?
Yes, beginners can start with basic camera moves like zooms and pans within their first hour of practice. Advanced techniques like parallax and multi-camera editing take a few weeks of consistent use to master.
Are camera objects available in the free version of Alight Motion?
Yes, camera objects are available in the free version along with most core features. Premium adds higher export resolutions, watermark removal, and access to additional presets and effects.
Final Thoughts
Looking back, learning how to use camera objects in Alight Motion was the biggest single upgrade to my mobile editing skills. They transformed how I think about every shot, every transition, and every moment of motion. Today, I rarely deliver a cinematic client project without using camera objects somewhere in the timeline.
Start small. Add a single camera object to your next project and animate just one property, maybe a slow zoom or a gentle pan. Once that feels comfortable, add parenting and explore parallax. Within a month of consistent practice, your work will look dramatically more professional.
Camera objects reward curiosity. The more you experiment, the more you discover. If this guide helped you, share it with another editor still relying on flat zooms and basic cuts. There is no reason to stay stuck on amateur edits when this much cinematic power lives inside the app on your phone.