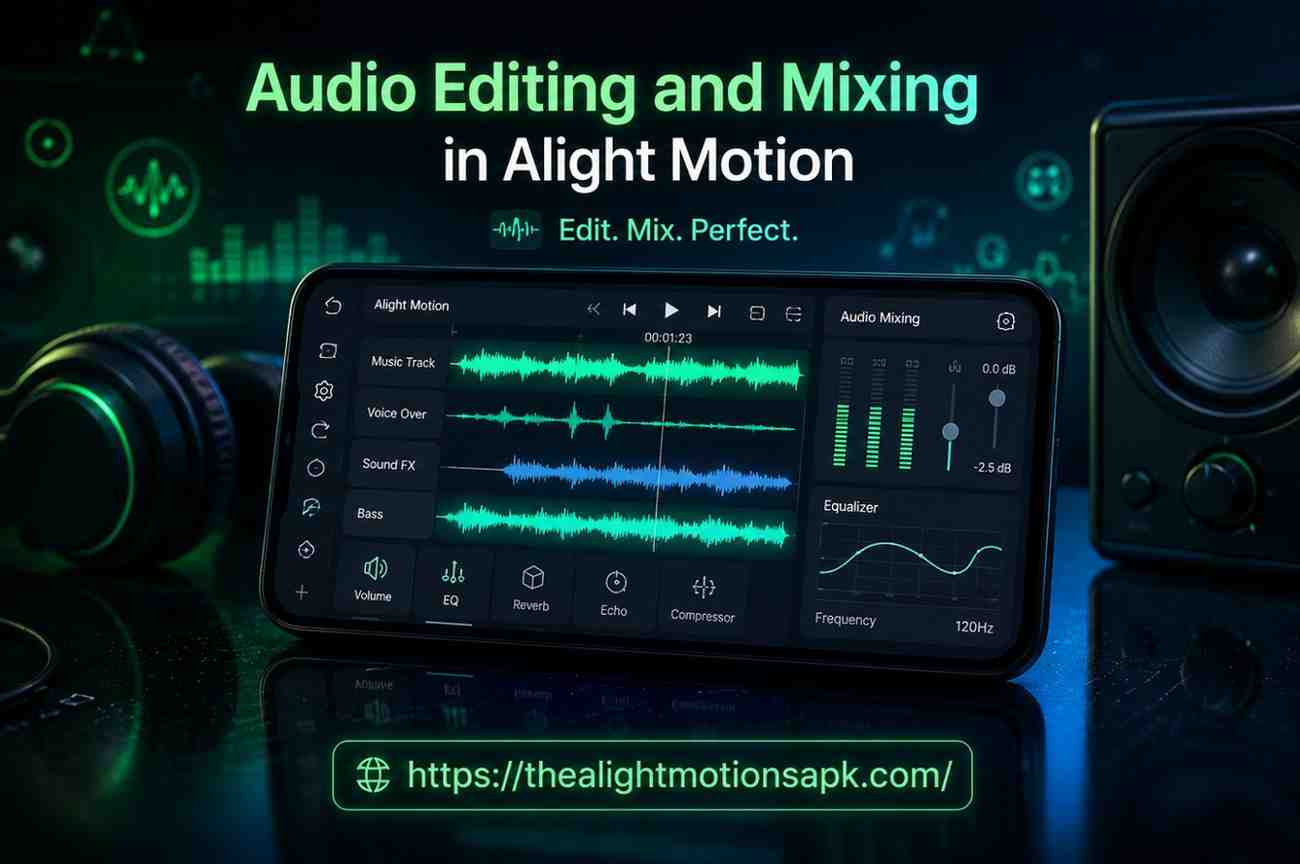
Audio Editing and Mixing in Alight Motion | Complete Beginner-to-Pro Guide (2026)
The first time I tried to sync a voiceover with a fast-cut Instagram reel inside Alight Motion, I genuinely thought the app had crashed. The waveform wouldn’t move where I dragged it, the music kept overpowering my voice, and the export sounded like it was recorded in a tin can. That was almost three years ago.
Since then, audio editing and mixing in Alight Motion has become one of the things I get asked about the most by editors who are just starting out, mostly because nobody really explains it properly. Most tutorials show you where the buttons are and stop there. They don’t tell you why your fade-out sounds choppy, or why your perfectly synced audio drifts out of place after you trim a clip.
This guide is everything I wish someone had handed me when I started. It’s based on hours of trial, error, and a fair number of ruined exports. By the end of it, you’ll know exactly how to edit and mix audio inside Alight Motion, from importing your first sound file to balancing a full multi-track mix that doesn’t sound muddy.
What Is Audio Editing and Mixing in Alight Motion?
Before touching any tool, it helps to understand what you’re actually doing when you “edit” versus when you “mix” audio, because Alight Motion treats them as two connected but separate jobs.
What Audio Editing Means in Video Editing?
Audio editing is the hands-on work of shaping a sound clip itself: trimming the parts you don’t need, cutting silence, adjusting where a clip starts and ends, and cleaning up anything that distracts from the final video. Think of it as sculpting raw audio into something usable. When I extract dialogue from a phone-recorded video, half my editing time goes into just removing dead air and stray noises before the clip even touches the timeline.
What Audio Mixing Means in Alight Motion?
Mixing happens once you have more than one sound playing together. It’s the balancing act, deciding how loud the background music should sit compared to a voiceover, whether a sound effect needs to duck under dialogue, and how everything blends so nothing fights for attention. In Alight Motion, mixing relies heavily on the volume keyframes and layer controls rather than a dedicated mixing console, which is something a lot of beginners don’t realize until they’re three tracks deep and everything sounds like noise.
Why High-Quality Audio Matters in Professional Videos?
Here’s something I learned the hard way: viewers forgive average visuals far more easily than they forgive bad audio. A slightly soft video still holds attention. A crackly, unbalanced, or out-of-sync audio track makes people scroll away within seconds, even if the footage itself is great. Clean, well-mixed sound is what separates a video that looks homemade from one that feels intentional and professional.
Benefits of Adding Audio and Music to Videos
I used to treat audio as an afterthought, something I’d slap on after finishing the visuals. That changed once I started actually paying attention to how sound was shaping the way people reacted to my edits.
Enhance Storytelling Through Sound
Music and sound effects guide emotion in a way visuals alone often can’t. A rising score before a reveal, a sudden silence before impact, these choices tell the viewer how to feel without a single word of dialogue. Good audio editing in Alight Motion lets you place these cues exactly where they land hardest.
Increase Audience Engagement
Videos with well-mixed audio simply hold attention longer. I’ve tested this myself on short-form content: the same clip with cleaned-up audio versus the raw export consistently performs better in watch time, even when the visuals are identical.
Create Emotions and Atmosphere
A quiet ambient track can make a calm travel clip feel peaceful, while a punchy bass drop can make a transition feel powerful. Mixing isn’t just technical, it’s emotional design.
Build Brand Identity and Recognition
If you’ve ever recognized a creator’s content from the music style alone before seeing their face, you understand this. Consistent audio choices, the same intro stinger, a recurring music style, build recognition the same way a logo does.
Make Videos More Memorable
People remember sound longer than they remember individual shots. A catchy audio hook or a perfectly timed sound effect often becomes the thing viewers quote or replicate, which is exactly how trends spread.
Audio Features Available in Alight Motion
Alight Motion’s audio toolkit is more capable than it looks at first glance, but it’s spread across a few different menus, so it’s easy to miss tools you actually need.
Audio Layers and Timeline Controls
Every sound you bring in, whether music, voice, or an extracted clip, becomes its own layer on the timeline, just like a video or image layer. You can reorder, resize, and reposition these independently, which is what makes layering multiple sounds possible.
Volume Adjustment Tools
Volume isn’t a single static slider. You can keyframe it, meaning the loudness can rise and fall at specific points, which is essential for fades and ducking effects under dialogue.
Fade In and Fade Out Effects
Built directly into the audio layer properties, fades let you smooth the entry and exit of any clip instead of having it cut in or out abruptly. This single feature fixes probably half the “amateur-sounding” audio I see in beginner edits.
Audio Sync Controls
Alight Motion lets you nudge audio against video frame by frame, which matters enormously once you start trimming clips, because even a few frames of drift becomes noticeable the moment someone’s lips move.
Built-In Audio Effects and Filters
There are native filters for adjusting tone, reducing harshness, and shaping how a clip sits in the mix, though they’re more limited than a dedicated audio app, which is worth knowing going in.
How to Import Audio Files in Alight Motion?
Getting sound into your project is the easy part, but understanding Audio Editing and Mixing in Alight Motion and keeping your project organized saves you real headaches later.

Adding Music or Sound Files to a Project
Open your project, tap the add layer icon, and select audio from the menu. Alight Motion will pull from your device’s local storage, so the file needs to already be saved on your phone or computer, not just streaming from an app.
Supported Audio Formats
MP3 and WAV are the safest choices and work reliably across both Android and iOS versions. I’ve run into occasional issues with less common formats like AAC depending on the device, so when in doubt, convert to MP3 before importing.
Organizing Multiple Audio Tracks
Once you have more than two or three audio layers, naming them clearly and stacking them in a logical order, music at the bottom, voice in the middle, effects on top, makes mixing dramatically easier. I learned this after losing track of which layer was which in a project with six overlapping clips.
How to Extract Audio From Video in Alight Motion?
Sometimes the sound you need already exists inside a video clip, and pulling it out is simpler than most people expect.
Create or Open a Project
Start a new project or open the one you’re working on, matching the resolution of your source footage if you’re extracting for reuse elsewhere.
Import a Video Clip
Add the video containing the audio you want as a layer, the same way you’d add any footage.
Separate Audio From Video
Tap the video layer, open its properties, and you’ll find an option to detach or extract the audio. This creates a standalone audio layer you can move, trim, or mix independently of the original footage.
Save and Preview the Changes
Always preview before moving on. I’ve extracted audio that sounded fine in the editor but had a faint sync offset that only showed up on playback, so a quick listen-through saves a re-export later.
How to Add Audio to a Video Project in Alight Motion?
Once your sound is imported or extracted, drag it onto the timeline directly below or above your video layers, then resize the clip’s edges to match the section of footage you want it covering. Alight Motion automatically lets you drag the layer left or right to reposition where it starts playing relative to your video, which is the foundation of every sync job you’ll do afterward.
How to Edit Audio in Alight Motion? (Step-by-Step)
This is the part most people actually search for, so here’s the workflow I follow on nearly every project.
Trim and Cut Audio Clips
Tap the audio layer, then drag the small handles at either end of the clip on the timeline to shorten it. For cutting out a section in the middle, use the split tool at your playhead position, then delete the unwanted segment.
Adjust Volume Levels
Inside the layer’s properties panel, find the volume control and either set a flat level or add keyframes for it to change over time. I almost always lower background music to around 20-30% when dialogue is present.
Mute or Replace Audio Tracks
If a video’s original sound needs to disappear entirely, mute the layer rather than deleting it, that way you can bring it back if you change your mind later in the edit.
Sync Audio With Video Footage
Zoom into the timeline for precision, then nudge the audio layer frame by frame until the waveform peaks line up with the visual action, a clap, a footstep, a cut.
Use Fade In and Fade Out Effects
Apply a short fade, usually half a second to one second, at the start and end of any clip that doesn’t begin or end on its own naturally. This alone makes transitions sound far smoother.
Audio Effects and Filters in Alight Motion
Built-In Audio Effects Overview
Alight Motion includes basic effects like pitch and speed adjustment tied to playback rate, along with some tonal shaping options buried in the layer settings.
Improve Sound Quality With Filters
While there’s no dedicated noise-reduction filter, adjusting volume curves and trimming out noisy sections manually can clean up a surprising amount of low-quality audio, helping you create more polished content with your Alight Motion Templates.
Add Creative Sound Design Effects
Layering multiple short sound effects, like a whoosh under a transition, on top of your main track adds a polished, intentional feel that separates casual edits from sharper ones.
How Audio Mixing Works in Alight Motion?
Understanding Multi-Track Audio Mixing
Mixing in Alight Motion is essentially volume management across stacked layers. There’s no traditional mixer interface, so you’re balancing each track’s level manually against the others while previewing in real time.
Mix Music, Voiceovers, and Sound Effects
A reliable starting point I use: voice at full volume, music reduced under it, and effects sitting just above the music but below the voice, then adjust by ear from there.
Balance Audio Levels for Clear Sound
Listen on actual phone speakers, not just headphones, before finalizing levels. Audio that sounds balanced in headphones can bury the voice completely on a phone speaker, which is how most people will actually watch your video.
Create Professional Sound Output
Small touches, slight fade-outs at the very end, consistent volume across the whole video, no sudden jumps, are what make a mix feel finished rather than thrown together.
How to Sync Audio and Video Perfectly?
Manual Audio Synchronization
There’s no automatic waveform-matching tool, so syncing is done by eye and ear, watching the waveform against the video’s motion and adjusting layer position accordingly an important skill when creating projects that use Stylish Hindi Fonts in Alight Motion alongside synchronized audio and visuals.
Common Audio Sync Issues
Drift usually happens after trimming a video clip without correspondingly adjusting the audio layer’s start point, since the two are no longer locked together automatically.
Quick Fixes for Delay Problems
If something feels slightly off but you can’t isolate where, zoom in heavily on the timeline. What looks aligned when zoomed out often reveals a small gap once you’re working frame by frame.
Advanced Audio Editing Techniques
Layering Multiple Audio Tracks
Stacking three or more layers, ambient background, music, voice, sound effects, creates depth, but each additional layer raises the risk of muddiness, so trim aggressively rather than letting every track play in full throughout the entire video.
Applying Multiple Effects Together
Combining a slight fade with a subtle volume keyframe dip can create a ducking effect manually, lowering music automatically whenever voice comes in, even without a built-in auto-duck feature.
Creating Custom Sound Effects
Pitching a single sound effect up or down slightly and layering it with itself at a different volume can create a fuller, more textured effect from one source file.
Improving Audio Quality for Social Media Videos
Platforms like Instagram and TikTok compress audio on upload, so exporting at a slightly higher volume than feels natural in the editor often translates better once the platform’s compression kicks in.
Best Practices for Professional Audio Editing
A few habits I picked up after enough failed exports:
Choose the right audio format before you even import, sticking to MP3 or WAV for reliability across devices. Maintain balanced levels by checking your mix at multiple volumes, not just your editing volume. Avoid distortion by watching for waveform peaks that touch the very top of the layer, since that’s usually where clipping starts. Keep voice and background music balanced by dropping music under dialogue rather than raising voice to compete with it. Finally, always export a test version and watch the whole thing before calling it final, because issues that aren’t visible while scrubbing the timeline often surface on full playback.
Common Audio Problems in Alight Motion and Their Solutions
Audio not importing: Usually a file format issue. Convert to MP3 and try again.
Audio not extracting properly: Make sure the video layer itself contains the original audio track and hasn’t already been muted or had audio stripped during a previous edit.
Low volume issues: Check that the layer’s volume keyframes aren’t accidentally set lower somewhere mid-clip, this happens more often than people expect when keyframes get nudged during editing.
Audio out of sync: Re-anchor the audio layer’s start point against the video after any trimming, since the two don’t stay automatically linked.
Video exported without sound: Confirm the audio layer wasn’t muted and double-check export settings, since some export presets can strip audio if selected incorrectly.
Important Things to Know Before Editing Audio
Supported Audio Formats
MP3 remains the most universally reliable across Alight Motion’s Android, iOS, and PC versions.
Recommended File Quality Settings
A bitrate of 192kbps or higher keeps music sounding clean without creating unnecessarily large project files.
Managing Multiple Audio Layers Efficiently
Color-coding or renaming layers as you add them prevents the confusion that comes with scrolling through six unlabeled audio tracks trying to remember which one is which.
Tips for Better Audio Editing and Mixing Results
Use high-quality audio sources whenever possible, since no amount of mixing fixes a poorly recorded original file. Avoid overlapping too many sounds at once, three layers playing simultaneously is usually the practical ceiling before things turn muddy. Preview audio before exporting every single time, ideally on a phone speaker and headphones both. Keep sound levels consistent throughout the video so viewers aren’t reaching for the volume button halfway through.
Conclusion
Editing and mixing audio in Alight Motion isn’t complicated once you understand what each tool is actually doing, but it does take a bit of patience and a willingness to redo a mix three or four times before it feels right. I still re-balance levels on almost every project I export, because what sounds right in the editor doesn’t always translate once it’s playing on someone else’s phone.
Start with the basicsimporting, trimming, and fading then gradually explore Audio Editing and Mixing in Alight Motion by layering tracks and balancing sound levels once those skills feel natural. The difference it makes to your finished video is worth every extra minute spent getting the sound right.
FAQ’s
Can You Edit Audio Directly in Alight Motion?
Yes! You can trim, cut, adjust volume, add fades, and sync audio directly within the app without needing a separate audio editor.
How Do I Extract Audio From a Video in Alight Motion?
Import the video as a layer, open its properties, and select the option to detach or extract its audio into a standalone layer.
Can I Mix Multiple Audio Tracks in Alight Motion?
Yes, you can stack several audio layers and adjust each one’s volume independently to create a balanced mix.
Why Is My Audio Out of Sync in Alight Motion?
This usually happens after trimming a video clip without adjusting the linked audio layer, causing the two to drift apart. Re-syncing manually fixes it.
Which Audio Formats Does Alight Motion Support?
MP3 and WAV work most reliably across all versions of the app, including Android, iOS, and PC.
How Can I Improve Audio Quality in Alight Motion?
Start with a clean, high-quality source file, trim out noise, balance volume levels carefully, and apply subtle fades for smoother transitions.
Can I Add Voiceovers and Background Music Together?
Yes, layer the voiceover above the music track, then lower the music’s volume so it sits underneath without competing with the spoken audio.