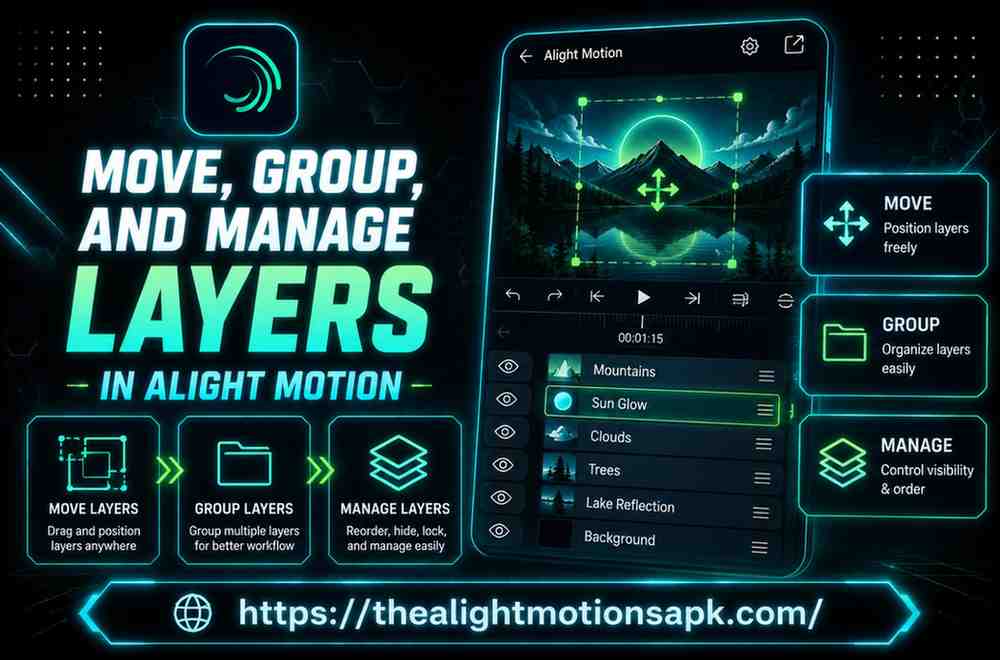
How to Move, Group, and Manage Layers in Alight Motion? (Complete Guide 2026)
I still remember the project where I lost track of my own timeline. A 30-second reel with text, three shapes, a background clip, and two audio tracks, and somewhere in the middle I genuinely forgot which layer controlled the title animation. Ten minutes of scrubbing through layers named “Shape 3” and “Text 2,” tapping the wrong eye icon, undoing things I didn’t mean to touch. That mess is what pushed me to actually learn how layers work in Alight Motion instead of clicking around and hoping for the best.
Once moving, grouping, and managing layers clicked, editing stopped feeling like guesswork. Here’s everything that’s made a real difference across dozens of projects since.
Why Layer Management Matters in Alight Motion?
Keeping Projects Organized
Every element you add, video, text, shape, audio, lands on its own layer. With two or three, that’s easy to track. With twenty, an unmanaged timeline turns into a maze. Good layer habits are the difference between opening a project after a week and knowing instantly where everything is.
Improving Editing Speed and Workflow
Grouped, labeled layers mean you stop hunting for the right element. Select a group, apply a change, move on. My own editing time dropped noticeably once grouping became a habit instead of an afterthought.
Making Complex Animations Easier to Handle
Title sequences with several animating text layers are genuinely hard to control without proper layer order and grouping. Manage it well, and even ten-plus moving elements stay workable instead of overwhelming.
Understanding Layers in Alight Motion
What Are Layers?
Picture a stack of transparent sheets. Each one holds a single element, a clip, an image, text, a shape, or audio, stacked on top of each other in the timeline. Whatever sits higher in the list appears in front in the final video. This is what lets you edit one element without touching anything underneath it.
Different Types of Layers in Alight Motion
- Video layers: footage clips; support trim, speed, color
- Image layers: static overlays, logos, stickers
- Text layers: captions, titles, animated typography
- Shape layers: vector-based, support fill, stroke, path animation
- Audio layers: sound only, sit alongside visual layers
- Group layers: containers holding multiple layers as one unit
How the Layer Timeline Works?
The timeline runs horizontally; a layer’s bar length and position show when it starts and ends. Vertically, list order sets the stacking, top layers render in front, bottom ones sit behind. Horizontal controls timing, vertical controls stacking. Every move you make comes down to one of these two.
Things to Know Before Managing Layers
Understanding Layer Order
Order isn’t just housekeeping, it decides what’s actually visible. A text layer sitting below a background video layer simply won’t show, because the video renders on top of it. Before moving anything, know whether you’re changing canvas position, timing, or stacking order, each solves a different problem.
Selecting Single and Multiple Layers
Tap a layer name to select it alone. To select several, press and hold the eye icon on the left of a layer until it highlights, then tap the eye icons on additional layers. This multi-select is what makes grouping and batch edits possible.
Keeping the Timeline Organized
Rename layers the moment you add them. “Title Text,” “Background Music,” “Logo Overlay” instead of default auto-generated names. Takes two seconds, pays off the moment a project passes five or six layers.
How to Move Layers in Alight Motion?
Moving a layer can mean three different things: its position on screen, its order in the stack, or its timing on the timeline.
Reposition Layers on the Canvas
- Tap the layer to select it.
- In the preview window, drag the element to its new position.
- Pinch with two fingers to resize as you reposition.
Change Layer Order in the Timeline
- Find the layer in the timeline list.
- Press and hold the three-line icon on its right edge until it lifts and highlights.
- Drag up or down, then release.
- Moving a layer to the top puts it in front of every other visual element.
Move Multiple Layers Together
Select several layers using multi-select, then drag any one of them. The whole selection shifts together, keeping relative positions intact, useful for a logo built from several grouped pieces.
Fine-Tune Position Using Transform Controls
- Select the layer.
- Tap “Move & Transform” in the bottom toolbar.
- Use the on-screen joystick or enter exact X/Y coordinates.
- The same panel offers Scale, Rotate, and Skew for further adjustment.
How to Group Layers in Alight Motion?
Grouping turns a pile of individual layers into one controllable unit, and it’s non-destructive, you can always split a group back apart without losing anything.
Create a Layer Group
- Press and hold the eye icon on the first layer you want grouped until it highlights.
- Tap the eye icons on additional layers to add them to the selection.
- Look for the grouping icon in the top-right corner (a box with a plus sign).
- Tap it, your selection combines into a single Group layer.
Add Layers to an Existing Group
Select both the new layer and the existing group using multi-select, then apply the grouping action again. Alight Motion Old Version folds the new layer into the existing group instead of creating a separate one.
Edit and Rearrange Layers Inside Groups
Tap the group, then “Edit Group” in the bottom menu. This opens the individual layers inside so you can reorder, rename, or adjust them exactly as you would outside a group.
Ungroup Layers When Needed
- Select the group layer.
- Tap “Edit Group.”
- Tap the three dots in the top-right corner, choose “Ungroup.”
- Layers return to the timeline as separate entities.
How to Manage Layers Efficiently?
Rename Layers for Better Organization
Tap a selected layer’s name at the top of the screen and type something descriptive. “Background Music” tells you far more six weeks later than “Audio 1.”
Lock Layers to Prevent Accidental Changes
Locking a finished layer stops you from accidentally bumping it while working nearby, especially useful for background elements already positioned exactly right.
Hide and Show Layers
Tap a layer’s eye icon once to hide it from preview, it stays in the project, just invisible. Tap again to bring it back. One of the most useful habits for isolating one element while working on another, without deleting anything.
Duplicate Layers for Faster Editing
Select a layer, tap the duplicate icon (two overlapping squares) in the bottom menu. Creates an instant copy with all properties and effects intact, handy for repeated elements with the same style.
Delete Unwanted Layers
Select the layer, tap the trash icon in the top-right corner. Double-check before confirming, especially inside a group, since there’s no native undo-after-save for this.
Working With Group Layers and Nested Elements
Organize Complex Projects With Groups
Beyond a simple clip, intros, animated logos, multi-element posts, grouping isn’t optional. I group by section: intro elements together, main content together, outro together. Scrubbing a long timeline gets far less painful.
Apply Effects to Entire Groups
Select a group, apply an effect, transition, or color adjustment to everything inside at once, instead of repeating the action on each layer individually. One of grouping’s biggest time savers.
Animate Multiple Layers at Once
Keyframes applied to a group move every layer inside it together, this is how a whole title card slides in as one coordinated unit instead of being keyframed piece by piece.
Manage Parent and Child Layers
Groups can hold other groups. A “Title Sequence” group might contain a “Text” group and a “Shape” group inside it. This parent-child structure supports genuinely complex motion graphics while keeping high-level control intact.
Best Practices for Layer Organization
Keep Related Elements Together
Group layers belonging to the same visual idea as soon as they exist, don’t wait until the project’s already tangled.
Use Meaningful Layer Names
Names describing function, “Intro Title,” “Lower Third”, always beat generic auto-labels.
Avoid Too Many Unnecessary Layers
Leftover test shapes, duplicate layers no longer needed, hidden elements you forgot about, clean these out periodically.
Maintain a Clean Timeline
A timeline you can visually scan in seconds is one you can actually work with. Group, name, and color-code as routine, not a one-time fix at the end.
Common Layer Problems and Their Solutions
Unable to Select a Layer
Tapping in the preview not working? The layer may be locked, hidden, or buried under another in the stack. Select it directly from the timeline list instead.
Layers Overlapping Incorrectly
Usually a stacking order issue, not a position issue. Drag the layer that should appear in front higher up the timeline list.
Hidden Layers Not Appearing
Check the eye icon, it can get toggled off accidentally during a drag gesture. Also confirm the layer’s bar actually covers the current playhead position.
Group Layers Not Responding Properly
Open “Edit Group” and check whether an inner layer has a conflicting setting, like an opacity or blend mode fighting the group-level effect.
Timeline Becoming Difficult to Manage
Almost always a symptom of skipped organization earlier on. Go back, group related layers, rename anything generic, delete what’s unused.
Advanced Layer Management Techniques
Using Layer Groups for Templates
A group you’re happy with, a styled lower-third, an intro animation, can be duplicated and reused across projects, adjusting only text or color inside.
Managing Layers in Motion Graphics Projects
Motion graphics work tends to carry far more layers than a simple edit. Color-coding by category (text, shapes, audio) makes a heavy project scannable at a glance.
Organizing Layers for Social Media Videos
Short-form content for Reels, Shorts, or TikTok stacks captions, stickers, background video, and music within seconds. Grouping by “scene” rather than layer type keeps fast-paced edits manageable.
Speeding Up Professional Workflows
Saved, pre-grouped templates help most with client work or recurring formats. Build grouping habits early and future projects start from an organized base, not a blank, chaotic one.
Performance Tips for Large Projects
Reduce Unnecessary Layers
Every active layer, especially with effects or keyframes, adds processing load. Delete test layers, merge what you can into groups.
Keep Effects Optimized
Heavy effects on multiple individual layers slow things down more than the same effect applied once at the group level.
Improve Timeline Performance
Hiding layers you’re not actively working on, without deleting them, smooths out preview playback in layer-heavy projects.
Maintain Smooth Playback
Lowering preview resolution while editing, in playback settings, keeps scrubbing responsive even as layer count climbs.
Pro Tips for Better Layer Control
Use Multi-Selection Efficiently
Get comfortable with the eye-icon multi-select early, it’s the foundation for grouping, batch effects, and moving multiple layers at once.
Combine Similar Elements Into Groups
Group as you build instead of waiting for the project to get messy. Far easier than untangling a finished timeline.
Preview Changes Before Export
Scrub the full timeline after any grouping or reordering change. Order issues are easier to catch before export than after.
Save Organized Project Files
A well-named, well-grouped project isn’t just easier to edit today, it’s easier to reopen six months from now.
Pros and Cons of Using Layer Groups
Advantages
- Apply effects, animations, and transforms to multiple layers in one action
- Keep complex projects visually organized and easy to navigate
- Reuse grouped templates across future projects
- Reduce the chance of editing the wrong layer by mistake
Limitations
- Grouping too aggressively can slow down access to one specific layer
- Overused nested groups add extra taps to reach a specific element
- Group-level effects sometimes still need individual-layer fine-tuning afterward
FAQ‘s
How do I move layers in Alight Motion?
Select the layer, then drag it directly in the preview to reposition it on screen, drag it up or down in the timeline list using the three-line icon to change stacking order, or use Move & Transform for precise coordinate-based positioning.
How do I group multiple layers together?
Press and hold the eye icon on the first layer until it highlights, tap the eye icons of additional layers to add them, then tap the grouping icon in the top-right corner.
Can I animate an entire group?
Yes. Keyframes applied to a group affect every layer inside it, letting you animate several elements together as one unit.
How do I ungroup layers in Alight Motion?
Select the group, tap “Edit Group,” then tap the three dots in the top-right corner and choose “Ungroup.” Layers separate back into individual entities.
Why can’t I select a layer?
It’s likely locked, hidden, or positioned behind another layer in the stack. Select it directly from the timeline list rather than tapping in the preview.
Can I lock or hide layers?
Yes. Locking prevents accidental edits to a finished layer; hiding, via the eye icon, temporarily removes it from preview without deleting it.
Does grouping layers improve workflow?
Significantly. It lets you apply effects, animations, and transforms to multiple layers at once instead of repeating the action individually, real time saved on complex projects.
How can I organize large projects more efficiently?
Rename layers as you create them, group related elements immediately rather than at the end, use color labels by type, and periodically delete unused or duplicate layers.
Final Thoughts
Layer management in Alight Motion is close to the whole game once a project grows past a clip or two. Moving layers gives you control over position and order, grouping gives you control over complexity, and consistent naming is what keeps both usable as the timeline grows. None of it is complicated once you’ve done it a few times, it just takes building the habit early instead of cleaning up the mess later, the way I had to learn it. Open your current project, group what belongs together, rename what’s still generic, and the next edit already feels easier.